Leather shoes are a timeless investment, offering both style and durability. However, over time, even the highest-quality leather can show signs of wear and tear—scratches, cracks, and peeling can make your favourite pair look like they belong in the rubbish. While professional shoe restoration services can work wonders, they often come with a hefty price tag. But what if you could achieve professional-level results from the comfort of your home?
Enter MAVI STEP, a premium brand renowned for its innovative and high-quality leather care and restoration products. Designed for both professionals and DIY enthusiasts, MAVI STEP offers a range of solutions that make it easy to breathe new life into your leather shoes, bags, and accessories. Whether you’re dealing with scuffed loafers, cracked boots, or peeling sneakers, MAVI STEP has the perfect product to restore your leather goods to their former glory.
In this article, we’ll walk you through a step-by-step guide on how to restore your leather shoes at home using MAVI STEP products. From cleaning and repairing to dyeing and polishing, you’ll learn how to transform worn-out shoes into like-new condition—all without breaking the bank. Whether you’re a seasoned DIYer or a complete beginner, this guide will equip you with the knowledge and tools to tackle leather restoration like a pro.
Ready to save your favourite pair of shoes? Let’s dive in!
Step 1: Preparing the Shoes for Restoration
Before diving into the restoration process, it’s essential to start with a clean and well-prepared surface. Cleaning is the first and most crucial step in any leather restoration project. Dust, dirt, and old residues can interfere with the adhesion of repair products and dyes, leading to uneven results. By thoroughly cleaning your shoes, you ensure that the subsequent steps—repairing, dyeing, and polishing—are as effective as possible.
Products Used for Cleaning and Preparation
- MAVI STEP Alexandra Brush. This dual-sided brush is a must-have tool for any leather care routine. One side features wide bristles perfect for removing dust and surface dirt from larger areas like the upper part of the shoe. The other side has narrow bristles designed to clean hard-to-reach spots, such as the area between the sole and the upper. Made with mixed natural bristles, the MAVI STEP Alexandra Brush is gentle on leather yet effective at removing debris, making it ideal for preparing your shoes for restoration.
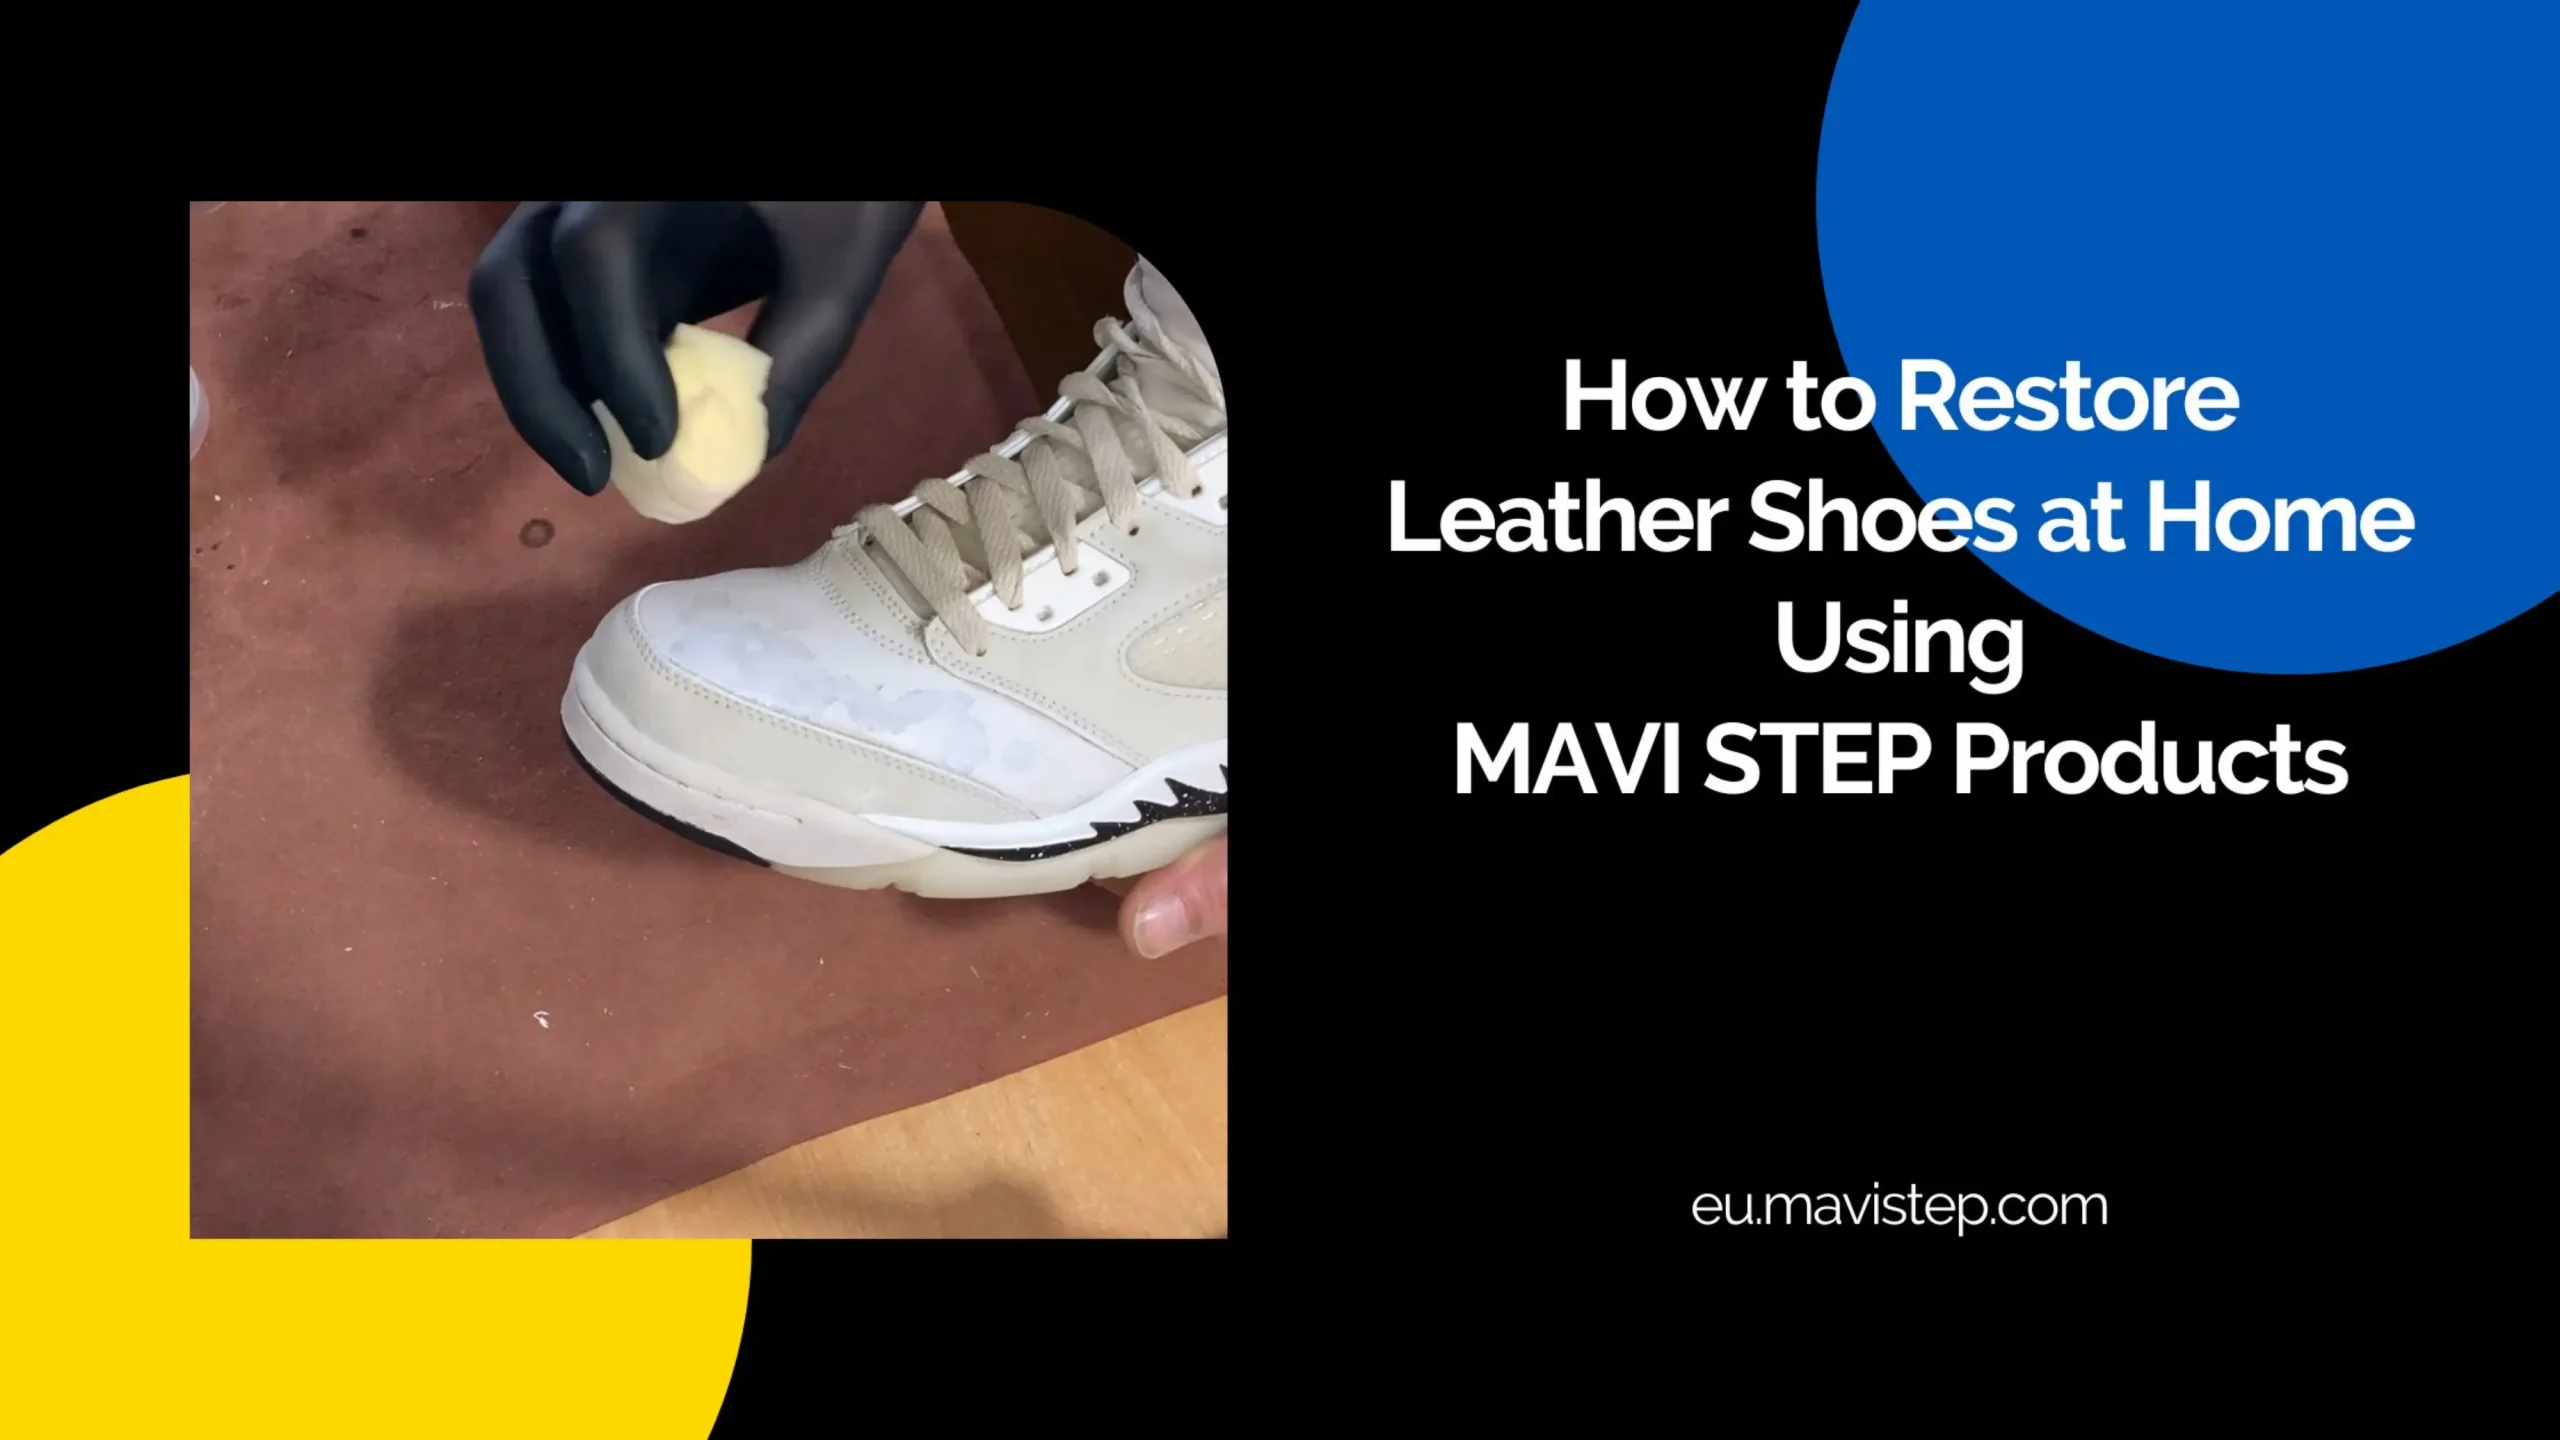
- MAVI STEP Abrasive Sponge. Once the surface dirt is removed, the next step is to prepare the leather for repair. The MAVI STEP Abrasive Sponge is specifically designed to gently sand the leather, removing old layers of paint, coating, or any uneven surfaces. This step is crucial for ensuring that the repair products and dyes adhere properly, resulting in a smooth and professional finish. The sponge’s abrasive texture is tough enough to remove imperfections but gentle enough to avoid damaging the leather.
The Cleaning and Preparation Process
- Brush Off Dust and Dirt. Start by using the MAVI STEP Alexandra Brush to remove any loose dirt, dust, or debris from the shoes. Use the wide bristles for larger areas and the narrow bristles for tight spots. Be thorough—this step ensures that no particles interfere with the restoration process.
- Gently Sand the Surface. After brushing, take the MAVI STEP Abrasive Sponge and gently sand the leather surface, focusing on areas with peeling paint, scratches, or cracks. This step helps to smooth out imperfections and creates a slightly rough texture, which improves the adhesion of the MAVI STEP Leather Repair Base in the next step. Be careful not to over-sand, as this could damage the leather.
- Final Cleaning. Once you’ve sanded the surface, use the MAVI STEP Alexandra Brush again to remove any micro-particles or residue left behind by the abrasive sponge. This ensures that the surface is completely clean and ready for the application of repair products.
By following these steps, you’ll create the perfect foundation for the restoration process. A clean and well-prepared surface not only ensures better results but also extends the life of your leather shoes. Now that your shoes are ready, it’s time to move on to the next step: repairing the damaged areas with MAVI STEP Leather Repair Base.
Step 2: Applying MAVI STEP Leather Repair Base
Once your shoes are clean and prepped, the next step is to address any visible damage, such as deep scratches, cracks, or peeling. This is where the MAVI STEP Leather Repair Base comes into play. This innovative product is a leather filler designed to restore the integrity of damaged leather surfaces. It penetrates deep into the material, “stitching” together the fibres and creating a smooth, even surface that’s ready for dyeing and finishing.
What is MAVI STEP Leather Repair Base?
The MAVI STEP Leather Repair Base is a versatile solution for repairing a wide range of leather damages. Whether your shoes have deep scratches, cracks, or areas where the top layer has peeled off, this product can effectively fill in and restore those imperfections. It dries to a white finish, which can then be sanded and painted over to match the original colour of your shoes.
Application Process
- Apply the Leather Repair Base. Using a cotton swab or a small spatula, carefully apply the MAVI STEP Leather Repair Base to the damaged areas. Start with a minimal amount—you can always add more if needed. Focus on filling in scratches, cracks, or peeling sections, ensuring that the product is evenly distributed.
- Spread the Product Evenly. After applying the repair base, use the MAVI STEP Chamoisine cloth to spread the product evenly across the surface. The Chamoisine cloth is perfect for this task because it allows you to smooth out the repair base without leaving streaks or uneven patches. Gently press and glide the cloth over the treated areas to ensure a seamless finish.
- Allow the Product to Dry Completely. Once the repair base is applied and spread evenly, let it dry completely. Drying times may vary depending on the thickness of the application and environmental conditions. Avoid touching or disturbing the area while it dries to ensure the best results.
Tips for Applying MAVI STEP Leather Repair Base
- Apply in Thin Layers: For the best results, apply the repair base in thin layers. Thick applications can take longer to dry and may not adhere as well to the leather. If the damage is deep, you can apply multiple thin layers, allowing each one to dry before adding the next.
- Use Minimal Water for Smoothing: If you need to smooth out the surface after applying the repair base, use a small amount of water. Dip a cotton swab or the MAVI STEP Chamoisine cloth in water and gently glide it over the repaired area. This helps to blend the product seamlessly into the leather. However, be cautious—too much water can dilute the repair base and affect its effectiveness.
- Work in a Well-Ventilated Area: It’s best to work in a well-ventilated space to ensure comfort and safety during the application process.
By following these steps and tips, you’ll effectively repair the damaged areas of your leather shoes, creating a smooth and even surface ready for the next stage: sanding and preparing for dyeing. The MAVI STEP Leather Repair Base is a game-changer for DIY leather restoration, allowing you to achieve professional-quality results at home.
Step 3: Sanding and Smoothing the Surface
After applying the MAVI STEP Leather Repair Base and allowing it to dry completely, the next crucial step is sanding and smoothing the surface. This step ensures that the repaired areas are perfectly even and seamlessly blended with the rest of the shoe. Sanding not only prepares the leather for the final stages of restoration but also helps achieve a professional, polished look.
Why Sanding is Necessary
Sanding is essential because it removes any excess repair product and creates a smooth, uniform surface. Without sanding, the repaired areas might feel rough or look uneven, which can affect the final appearance of your shoes. Additionally, sanding helps the MAVI STEP Universal Dye adhere better to the leather, ensuring a consistent and long-lasting finish. Think of sanding as the bridge between repair and refinement—it’s the step that transforms your shoes from “fixed” to “flawless.”
Product Used: MAVI STEP Abrasive Sponge
The MAVI STEP Abrasive Sponge is the perfect tool for this step. Its gentle yet effective abrasive texture allows you to sand the dried Leather Repair Base without damaging the leather. The sponge is easy to handle and provides just the right amount of friction to smooth out imperfections while maintaining the integrity of the material. Whether you’re working on small scratches or larger repaired areas, this sponge ensures precision and control.
The Sanding and Smoothing Process
- Gently Sand the Repaired Areas. Once the MAVI STEP Leather Repair Base has fully dried, take the MAVI STEP Abrasive Sponge and gently sand the repaired areas. Use light, circular motions to smooth out any bumps or uneven patches. Focus on blending the repaired sections with the surrounding leather to create a seamless transition. Be careful not to sand too aggressively, as this could damage the leather or remove too much of the repair base.
- Check for Smoothness. As you sand, periodically run your fingers over the surface to check for smoothness. The goal is to create an even texture that feels natural to the touch. If you notice any rough spots or uneven areas, continue sanding gently until the surface feels uniform.
- Wipe Away Residue. After sanding, use a clean, dry cloth to wipe away any residue or dust left behind by the abrasive sponge. This step is important because it ensures that the surface is clean and ready for the next stage—dyeing. Make sure to remove all particles, as they could interfere with the adhesion of the dye.
Tips for Effective Sanding
- Work in Small Sections: Focus on one area at a time to ensure thorough and even sanding. This approach helps you maintain control and achieve consistent results.
- Use Light Pressure: Let the abrasive sponge do the work. Applying too much pressure can damage the leather or create uneven surfaces.
- Inspect the Surface: After sanding, inspect the surface under good lighting to ensure there are no missed spots or rough patches.
By following these steps, you’ll create a perfectly smooth surface that’s ready for the final stages of restoration. Sanding might seem like a small detail, but it’s a critical step that ensures your shoes look professionally restored. Now that the surface is smooth and even, it’s time to move on to the exciting part: applying the MAVI STEP Universal Dye to bring your shoes back to life!
Step 4: Applying MAVI STEP Universal Dye
Now that your shoes are clean, repaired, and sanded to perfection, it’s time to bring them back to life with colour. The MAVI STEP Universal Dye is a game-changer in the world of leather restoration. This versatile product is designed to restore the vibrant colour of your leather shoes, bags, and even fabric items, giving them a fresh, like-new appearance.
What is MAVI STEP Universal Dye?
The MAVI STEP Universal Dye is a high-quality, water-based dye that works on a variety of materials, including smooth leather, synthetic leather, and textiles. Its flexible formula allows for easy application and excellent coverage, ensuring that your shoes look flawless after restoration. The dye is available in six standard colours, but the real standout feature is MAVI STEP’s custom colour option, which lets you match or create any shade you desire.
Custom Colour Option
One of the most exciting features of MAVI STEP is the ability to create custom dye colours. Through our MAVI STEP Custom website, you can choose from over 2,050 colours in the NCS (Natural Colour System) palette. This means you can perfectly match the original colour of your shoes or experiment with a completely new look. Whether you’re restoring a classic pair of brown loafers or giving your sneakers a bold, modern twist, MAVI STEP has you covered.
Application Process
- Transfer the Dye to a Small Container. Start by transferring a small amount of the MAVI STEP Universal Dye into a separate container. This makes it easier to control the amount of dye you use and prevents contamination of the original bottle. If you’re mixing custom colours, this is the stage where you’ll blend the dyes to achieve your desired shade.
- Apply the Dye with the MAVI STEP Dye Applicator Sponge. Dip the MAVI STEP Dye Applicator Sponge into the dye, ensuring it’s evenly coated but not oversaturated. Begin applying the dye to the shoe using smooth, even strokes. Focus on the repaired areas first to ensure full coverage, then work your way across the entire surface of the shoe. The sponge’s fine pores help distribute the dye evenly, preventing streaks and ensuring a professional finish.
- Ensure Full Coverage. Pay special attention to areas where the leather repair base was applied. These sections may absorb more dye, so you might need to apply an extra layer to achieve consistent colour. Make sure to cover all parts of the shoe, including edges and seams, for a uniform look.
Tips for Applying MAVI STEP Universal Dye
- Apply in Thin Layers: To avoid streaks and ensure even coverage, apply the dye in thin layers. Thick applications can lead to uneven drying and a patchy finish. Multiple thin layers will give you better control over the colour intensity and result in a smoother, more professional look.
- Allow Each Layer to Dry: After applying the first layer, let it dry completely before adding the next. Drying between layers helps prevent smudging and ensures that the colour builds up evenly.
- Work in a Well-Ventilated Area: Make sure to work in a well-ventilated space to ensure comfort and safety during the application process.
- Test the Colour First: If you’re unsure about the colour, test the dye on a small, inconspicuous area of the shoe or a piece of scrap leather. This allows you to see how the colour will look once dried and make adjustments if needed.
By following these steps and tips, you’ll achieve a flawless, professional-looking finish that restores your shoes to their former glory—or gives them a brand-new look. Once the dye has dried, it’s time for the final step: polishing and protecting your restored leather shoes to ensure they stay beautiful for years to come.
Step 5: Final Touches and Polishing
After cleaning, repairing, and dyeing your leather shoes, the final step is all about adding those polished finishing touches that elevate your restoration project to a professional level. This is where the MAVI STEP Chamoisine cloth comes into play. Known for its versatility and effectiveness, this cloth is the perfect tool for buffing and polishing your shoes, giving them a sleek, finished look. A final inspection ensures that every detail is perfect, leaving you with a pair of shoes that look as good as new.
Polishing with MAVI STEP Chamoisine
The MAVI STEP Chamoisine cloth is a must-have for the final stage of leather restoration. Made from 100% natural cotton, this cloth is designed for both cleaning and polishing, making it ideal for giving your shoes a refined, glossy finish. Here’s how to use it:
- Buff the Surface: After the dye has fully dried, take the MAVI STEP Chamoisine cloth and gently buff the surface of the shoes. Use smooth, circular motions to bring out the natural shine of the leather. The cloth’s soft texture ensures that you won’t scratch or damage the surface while polishing.
- Focus on Repaired Areas: Pay extra attention to the areas where you applied the MAVI STEP Leather Repair Base and dye. These sections may need a bit more buffing to blend seamlessly with the rest of the shoe. The Chamoisine cloth helps to smooth out any minor imperfections and enhances the overall appearance.
- Add a Protective Shine: For an extra layer of protection and shine, you can apply a small amount of leather conditioner or polish to the cloth before buffing. This step not only enhances the colour but also helps to protect the leather from future wear and tear.
Final Inspection
Before declaring your restoration project complete, it’s important to conduct a thorough final inspection. This ensures that every detail is perfect and that your shoes are ready to wear.
- Check for Missed Spots: Examine the shoes under good lighting to identify any areas that may have been missed during the dyeing or polishing process. Look for uneven colour, rough patches, or spots where the repair base might still be visible.
- Touch Up if Necessary: If you notice any imperfections, don’t worry—they’re easy to fix. Use the MAVI STEP Universal Dye to touch up any missed spots, and let it dry completely. Then, use the MAVI STEP Chamoisine cloth to buff the area again, blending it seamlessly with the rest of the shoe.
- Inspect the Overall Finish: Once you’ve addressed any touch-ups, take a step back and inspect the overall finish. The shoes should have a uniform colour, a smooth texture, and a subtle shine. If everything looks good, congratulations—you’ve successfully restored your leather shoes!
Tips for a Flawless Finish
- Work in Good Lighting: Natural light or a bright lamp can help you spot any imperfections that might be harder to see in dim lighting.
- Take Your Time: Rushing the final steps can lead to overlooked details. Take your time to ensure every part of the shoe looks its best.
- Store Properly: Once your shoes are restored, store them in a cool, dry place away from direct sunlight. Use shoe trees to maintain their shape and prevent creasing.
By following these steps, you’ll achieve a professional-quality finish that not only restores your shoes but also protects them for future use. The MAVI STEP Chamoisine cloth is the perfect tool for adding that final touch of polish, ensuring your shoes look as good as new. Now, step out in confidence, knowing you’ve mastered the art of leather shoe restoration at home!
Restoring leather shoes at home may seem like a daunting task, but with the right products and techniques, it’s entirely achievable—and even rewarding. By following the step-by-step guide outlined in this article, you’ve learned how to clean, repair, dye, and polish your leather shoes to bring them back to life. From using the MAVI STEP Alexandra Brush to remove dirt and dust, to applying the MAVI STEP Leather Repair Base for deep scratches and cracks, and finally finishing with the MAVI STEP Universal Dye and Chamoisine cloth for a flawless shine, each step plays a crucial role in achieving professional-quality results.
The MAVI STEP product line is designed with both professionals and DIY enthusiasts in mind, offering premium quality and ease of use. Here’s why MAVI STEP stands out:
- High-Quality Materials: From the durable bristles of the Alexandra Brush to the gentle yet effective Abrasive Sponge, every product is crafted to deliver exceptional results without damaging your leather.
- Versatility: Whether you’re repairing scratches, restoring color, or polishing your shoes, MAVI STEP products are versatile enough to handle a wide range of leather care needs.
- Professional Results at Home: With MAVI STEP, you don’t need to spend a fortune on professional restoration services. Our products empower you to achieve salon-quality results in the comfort of your own home.
- Customization: The ability to create custom dye colors through MAVI STEP Custom website ensures that your shoes look exactly the way you want them to, whether you’re matching the original color or trying something new.
Ready to restore your leather shoes and give them a second life? Don’t wait—try the process yourself and experience the satisfaction of transforming worn-out shoes into like-new condition.